
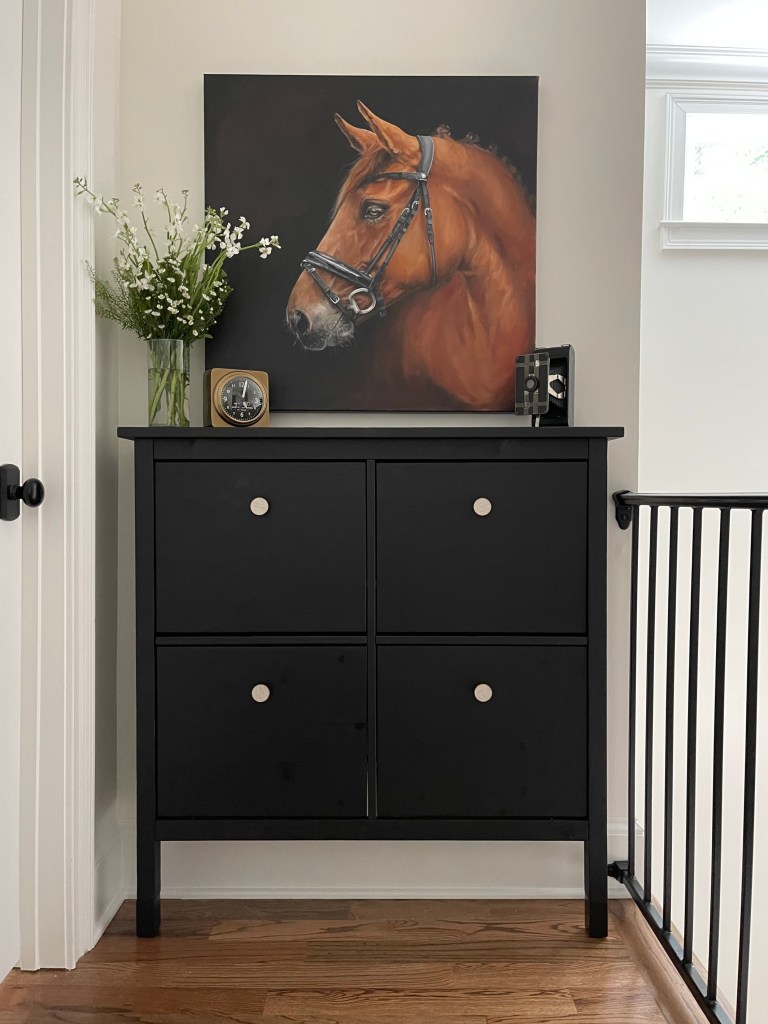
If you google “Ikea Hemnes Shoe Cabinet Hack” you’ll get a number of blog posts that discuss how quickly and easily the author transformed a simple Ikea Hemnes shoe cabinet into a beautiful statement piece of furniture. So when we decided to create a welcoming “entryway” on a blank wall outside our upstairs guest bedroom that required a very shallow depth piece of furniture to pull off, my mind immediately went to the Hemnes cabinet.
I’ve always wanted to re-furbish furniture. The most I’d done in that arena, however, was to reupholster a chair… that is, I hired an upholsterer to reupholster an antique chair. But the posts made this project seem so doable! I didn’t flinch. I was made for this!
Little did I know that painting and installing this simple cabinet would become the saga it did. In preparing for this project, I did more research than I’m normally inclined to. I really didn’t want to waste time getting it wrong and having to go back and fix any mistakes. Also, I wanted to look cool and capable to my husband who, generally speaking, loathes these projects.
Suffice it to say, it was not as easy a furniture flip as I had hoped. As therapeutic as I find it to regale people with the blow by blow of how all this unfolded, it’s probably much more helpful to you to provide a run down of the lessons I learned along the way and my recommendations for how to efficiently hack an Ikea Hemnes Shoe Cabinet, so it goes more smoothly and quickly for you than it did for me!
Lesson #1: Paint is expensive!
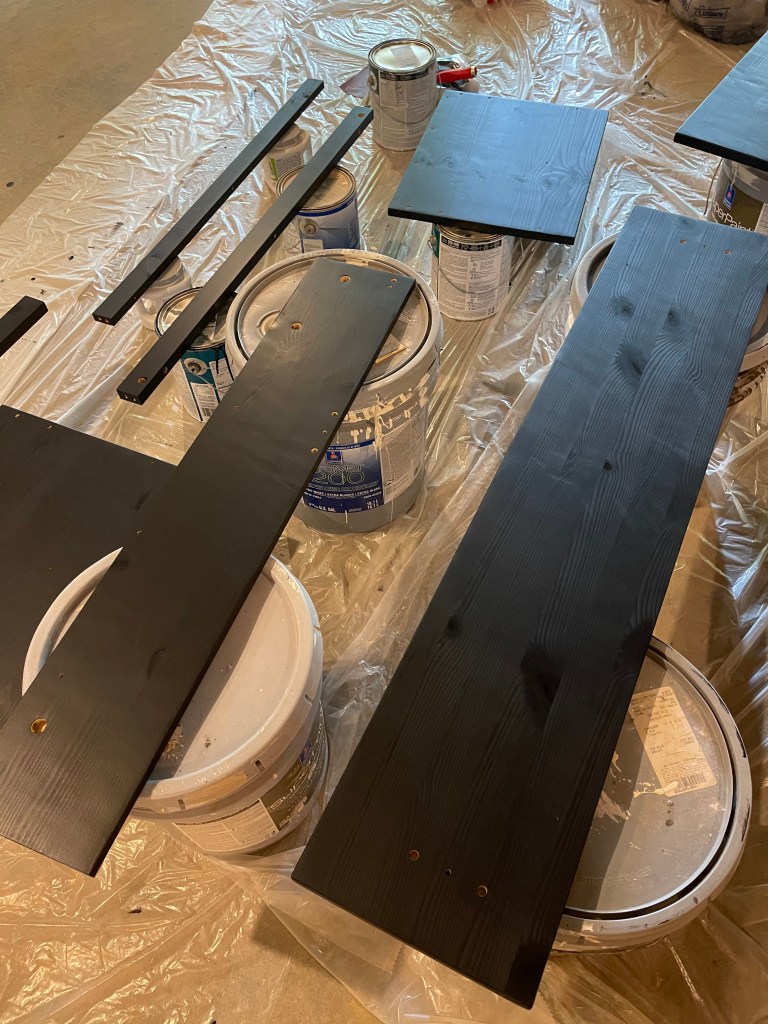
After talking to my cousin, who is an experienced furniture rehab-er, I decided I wanted to use Sherwin Williams Emerald paint in a satin finish. Well… when my sister-in-law went to buy the paint for me (I was stuck at home with the little babes in a waning pandemic) I learned that the paint for the project was going to cost… wait for it… $90!!!! That was almost the same price as the cabinet (which is roughly $100). Mind you this price was for a gallon of paint and this project ended up requiring about 1/20th that amount of paint. So, unless you’re planning to use the paint for other projects, do yourself a favor and buy less than a gallon. Also, there are less expensive paints on the market. Just be careful to use something high quality that will hold up to some wear and tear. It’s not worth it to put in all the work for it to all come quickly undone.
Lesson #2: Don’t be cheap! Do yourself a favor and buy the primer
After learning how expensive the paint was, I was not interested in spending the additional $50 for a gallon of primer. Why would I, when I could just sand the pieces for free and skip the primer altogether? So I decided we would just sand it instead (I say “we” because my wonderful sister-in-law would be helping me with this project not just procuring supplies).
This turned out to be a mistake. We first tried hand sanding the pieces.
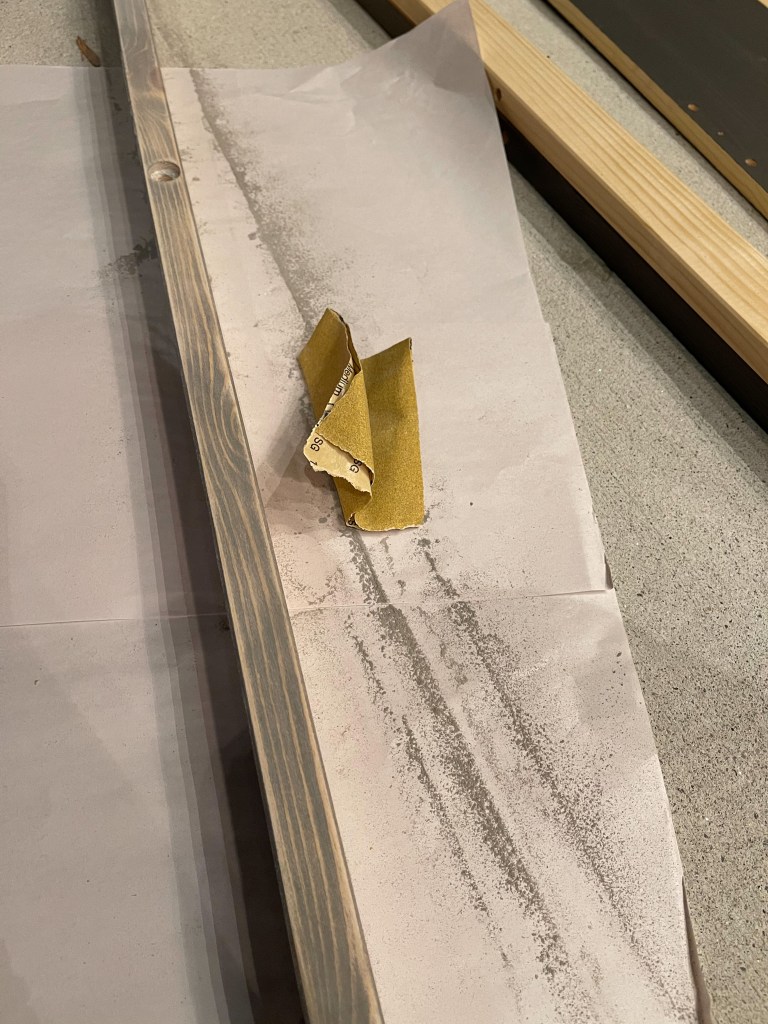
It quickly became clear that even if we sanded for the rest of our foreseeable lives we would not get the veneer off the cabinet by hand sanding. So, we tried using an electric sander. That did the trick.
But it created a sandstorm of dust that coated the entire inside of my garage and everything in it. To clean it, we bought a WetVac (while that expense easily could have been added to the cost of the project I didn’t lump it in because it’s now one my favorite things in my house and I’ll never part with it. It is a miracle machine.) It took my sister-in-law several hours with an electric sander and still some hand sanding to remove all of the veneer off the cabinet pieces. It took me one night to clean the garage.
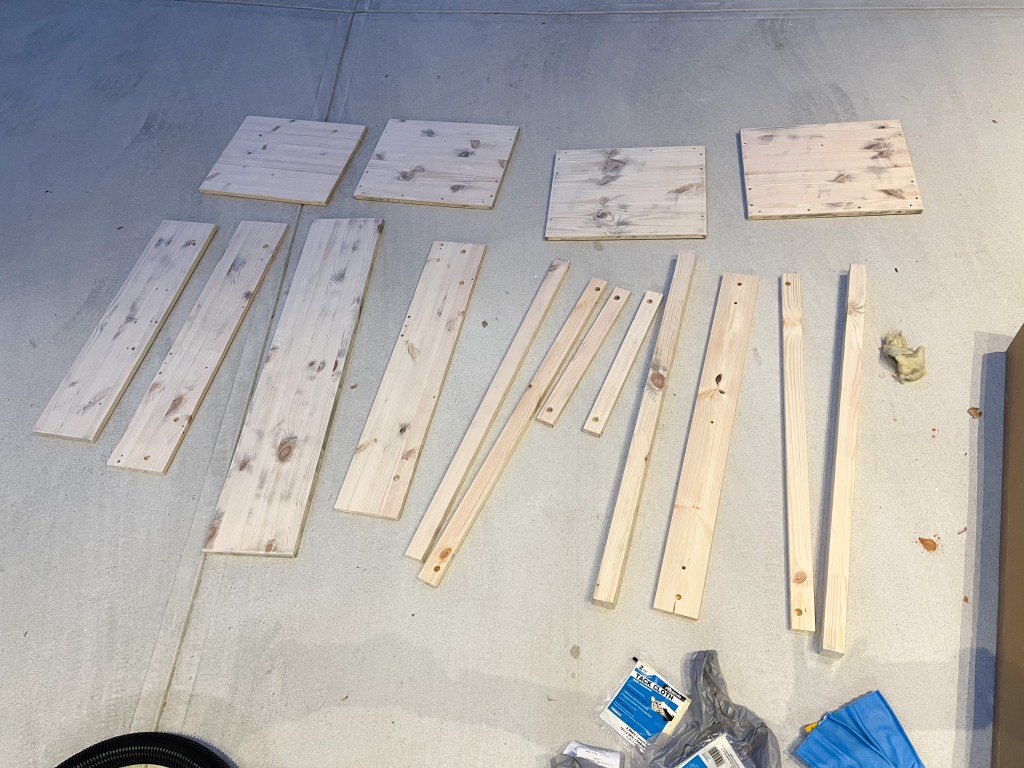
Tip #1: Paint the individual pieces before you assemble the cabinet
Paint the pieces individually before you assemble the cabinet. It will mean you will have perfect paint coverage and will be much easier than painting the assembled piece.
Tip #2: Wipe down your pieces with tack cloth before you prime
Before you prime (or, if you disregarded Lesson #2 and sanded, before you paint) wipe down each piece with a tack cloth. It will remove all the tiny particles of dust and debris and give you a beautifully smooth surface to paint on. You can get them at the hardware store and they’re cheap. Pro tip: wear gloves when you use the tack cloth or your hands will be covered in sticky. No, the tack cloth does not make your wood pieces sticky. No, I don’t know why. It just doesn’t.
Tip #3: Measure your baseboards to make sure the piece will clear them without risers
There is only a few inches of clearance between the bottom of the cabinet’s legs and the bottom of its side pieces. Measure your baseboards to make sure the sides will clear them. Our baseboards were too tall to install the cabinet without any amendments to the legs. This is a common problem with the Hemnes Shoe Cabinet and there’s a seller on Etsy who makes leg extenders specifically for these cabinets. The screws that came with these leg extenders weren’t long enough to screw them into the cabinet legs; so, just know that depending on how deep the holes in the bottom of your cabinet legs are drilled by the manufacturer, you may need to get longer screws to screw them on.
Tip #4: Buy your own mounting hardware
The Hemnes Shoe Cabinet must be mounted to the wall to stand, as it has only 2 legs. But Ikea does not provide the mounting screws with the cabinet. So, for example, if you’re mounting the cabinet into drywall, you’ll have to get your own drywall screws and screws. These can also be found at your local hardware store.
Tip #5: Swap out the cabinet hardware for an even more custom look
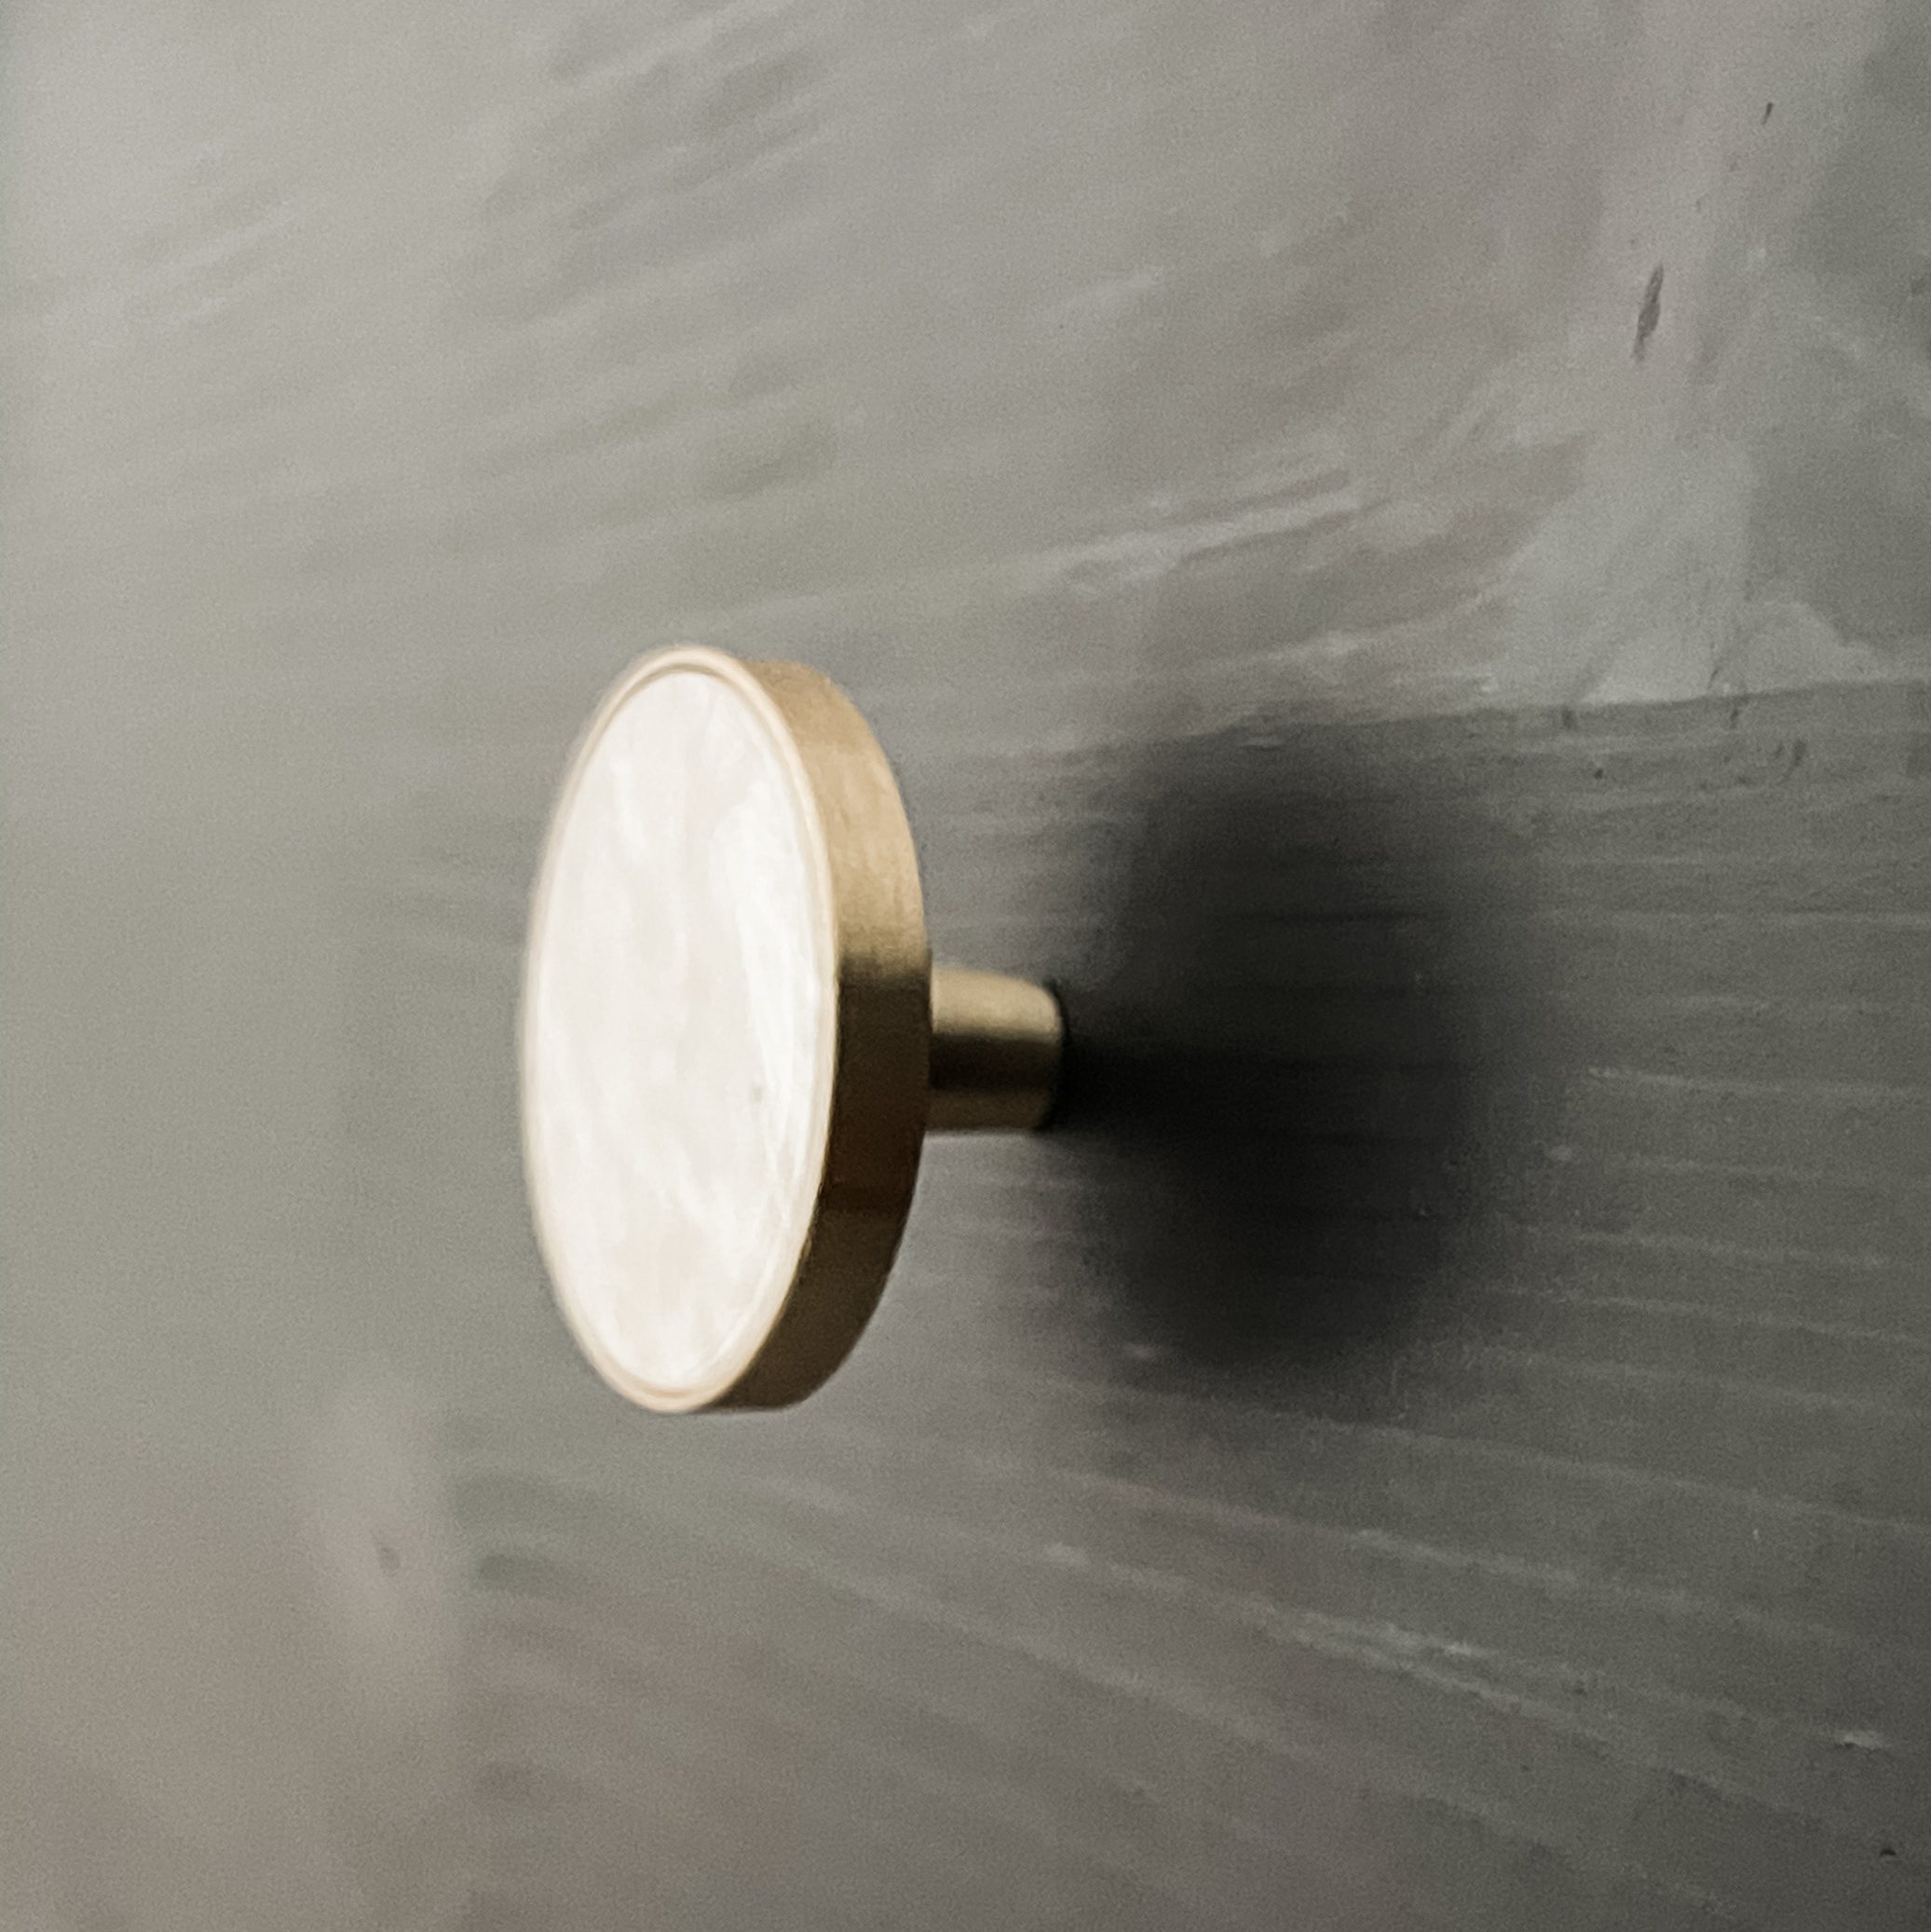
This cabinet comes with 4 knobs. Thy are not pre-installed on the cabinet faces. I highly recommend selecting your own hardware to use instead of these stock knobs. There’s absolutely nothing wrong with them. But changing out the knobs will have a huge impact on the personality of your hacked cabinet. I found these knobs on Amazon for $18 for a 4 pack.
Now that you know, go and tackle that cabinet with confidence. If you have any questions about this hack, please don’t hesitate to ask me in the Comments or email me through the Contact page! And have fun with it!

How did you mount it? I would love some direction in regards to that !
LikeLike
Ayesha,
Thank you for your question. And I’m so sorry I somehow missed it!
If it’s still helpful, I just used drywall screws to mount it! I bought them at our local hardware store. Had to make sure they were long enough to clear the depth of the board that connects the cabinet to the wall (at least IKEA provides that with the cabinet! 😅). If you have any other questions, please don’t hesitate to ask!
xx,
Elyse
LikeLike